


Installing An Aftermarket Radio On A Motorcycle
Installing an aftermarket radio on a motorcycle is a little more challenging than in a car. On a larger touring type motorcycle, a radio may already exist. Installing an aftermarket radio on these types of motorcycle is an easy swap. Installing a radio on a motorcycle that was never intended to have one can be more difficult, but anything is possible with a little ingenuity and a vison. Radio sizes are typically described in DIN and Double DIN sizes. For larger, touch screen GPS enabled head units, a Double DIN size radio slot will be needed.
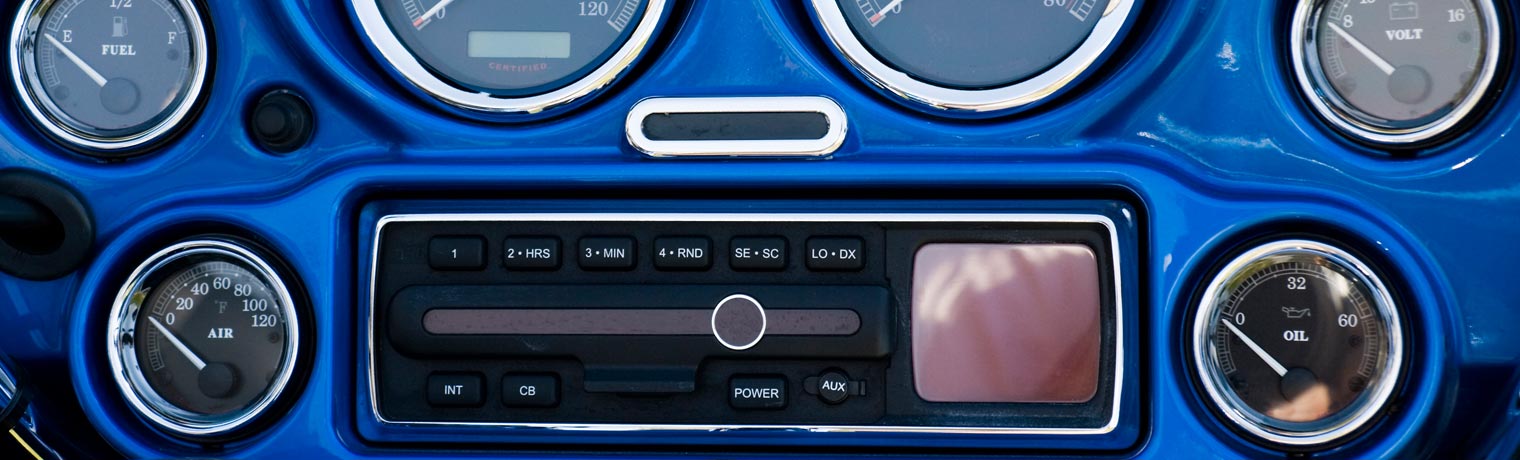
Radio Location and Removal
To replace a stock radio with an aftermarket radio, a regular do-it-yourselfer can handle the job. Depending on the manufacturer, the radio should be located in the front fairing or saddlebag of the motorcycle. As with any type of radio install, the negative terminal of the battery should be disconnected to eliminate chance of electrocution.
With the front fairing-type of mounting use a service manual to disassemble the front radio bezel from the fairing. This may require disassembling the entire fairing depending on what kind of motorcycle you are working on. Some trim plates are attached with plastic clips; care should be taken not to break these clips. Gently use plastic prying tools: these will help alleviate this issue.
Once you get access to the radio, unplug the stock wiring harness from the factory radio and remove the radio. If the radio is in a saddlebag, the removal can be a lot easier. It usually requires removing a bezel that holds it in place and unplugging the wiring harness and removing the mounting screws.
Wiring and Soldering
Installing a new radio in its place can require some skill in wiring and soldering. You must use a wiring harness adapter to adapt the aftermarket radio harness to the factory radio harness.
This site and articles contained herein are provided for general informational purposes only and are not a substitute or intended as professional advice. Please be sure to refer to your owner’s manual or consult a mechanic for information specific to your motorcycle. The information contained on this site and articles contained herein are provided on an “as is” basis with no guarantees of completeness, accuracy, usefulness or timeliness and without any warranties of any kind whatsoever, express or implied. Rider Insurance Company and its affiliates (together, “Rider”) assume no responsibility for any errors or omissions in the content of this site and articles contained herein. Any action taken upon this information is strictly at your own risk and Rider will not be liable for any losses or damages in connection with your use of this site and articles. Additional terms and conditions apply and are available at https://www.rider.com/plymouth-rock-assurance-general-terms-and-conditions/.
An aftermarket wiring harness can be hard-wired into the bike, but this may cause warranty issues and make it difficult to change the radio in the future. An aftermarket radio harness can be wired to an adapter. Follow the instructions of both harnesses; it’s usually as easy as wiring the same colored wires together. The adapter will plug into the factory radio harness without any permanent changes to the wiring of the factory wiring harness.
To solder a wire, strip back about a half of an inch of its protective sheathing. Slide shrink wrap tubing over one wire and twist the two wires together. Use a soldering pen or gun to heat the wire. Once it is hot enough, touch it with solder; it should flow between the wires and fuse them together. Let it cool and slide the shrink-wrap over the soldered joint. Use a heat gun to shrink the tubing and connect the wire. DO NOT use a lighter as a heat source, the wire sheathing can ignite. Do this for every wire.
Test and Mount New Radio
You can then plug the wiring adapter into the factory harness. Use a radio-mounting adapter to mount the radio if it is a different size than the stock radio. This works for both fairing mounted and saddlebag mounted systems. It is a good idea to test the radio before mounting it permanently, in case you need to fix any wiring. Once the test is complete, install the radio and the decorative bezel.
For those motorcycles with no radios, it is more of a challenge. There are mounting kits that can place an aftermarket radio in a saddlebag. If you don’t have any saddlebags you may have to install a fairing or install the radio inside some other type of storage. There are Bluetooth systems that use no traditional head unit, but instead employ a small connection hub. You can place the hub anywhere that is convenient for you. These types of systems have no knobs or display; they just connect to the rider’s phone. Since there is no factory wiring harness, a wiring harness will have either to be made or bought.
Instructions with the radio clearly identify the radio wires. Use the same gauge wire with each of the wires. Speaker wire can be used for all of the speakers. Run the wires in an orderly fashion along the frame in either a wire loom or shrink-wrap. Make sure to keep the wires away from anything hot or moving. If wires need to run from the frame to the handlebars, coil the wires to allow for expansion needed when turning the handlebars.
Mount the speakers in a fairing, saddlebag or clamp on to the handlebars. Make sure they are secure and wired properly. Most speakers intended for motorcycles are waterproof and waterproof connections should be used on the wires. Reconnect the negative terminal on the battery. Test the radio and make sure it functions properly. Run an auxiliary wire to an easily accessible place for an MP3 player or smartphone. Some radios may have GPS units, and other add-ons. Make sure everything is secure and go for a ride!
Plymouth Rock Assurance is a marketing name used by a group of separate companies that write and manage property and casualty insurance in multiple states. Motorcycle insurance in New Jersey and Pennsylvania is underwritten by Rider Insurance Company. Each company is financially responsible only for its own insurance products. Actual coverage is subject to the language of the policies as issued by each separate company.